Glow in the dark driveways have moved from a novelty feature to a genuine trend in residential and commercial hardscaping. Homeowners want something that looks striking after sunset without relying on electricity, and resin bound surfacing with glow rocks blended in delivers exactly that. This guide walks through the full installation process so you understand what goes into a properly built glow driveway, what materials are involved, and what mistakes to avoid along the way.
What Makes a Driveway Glow?
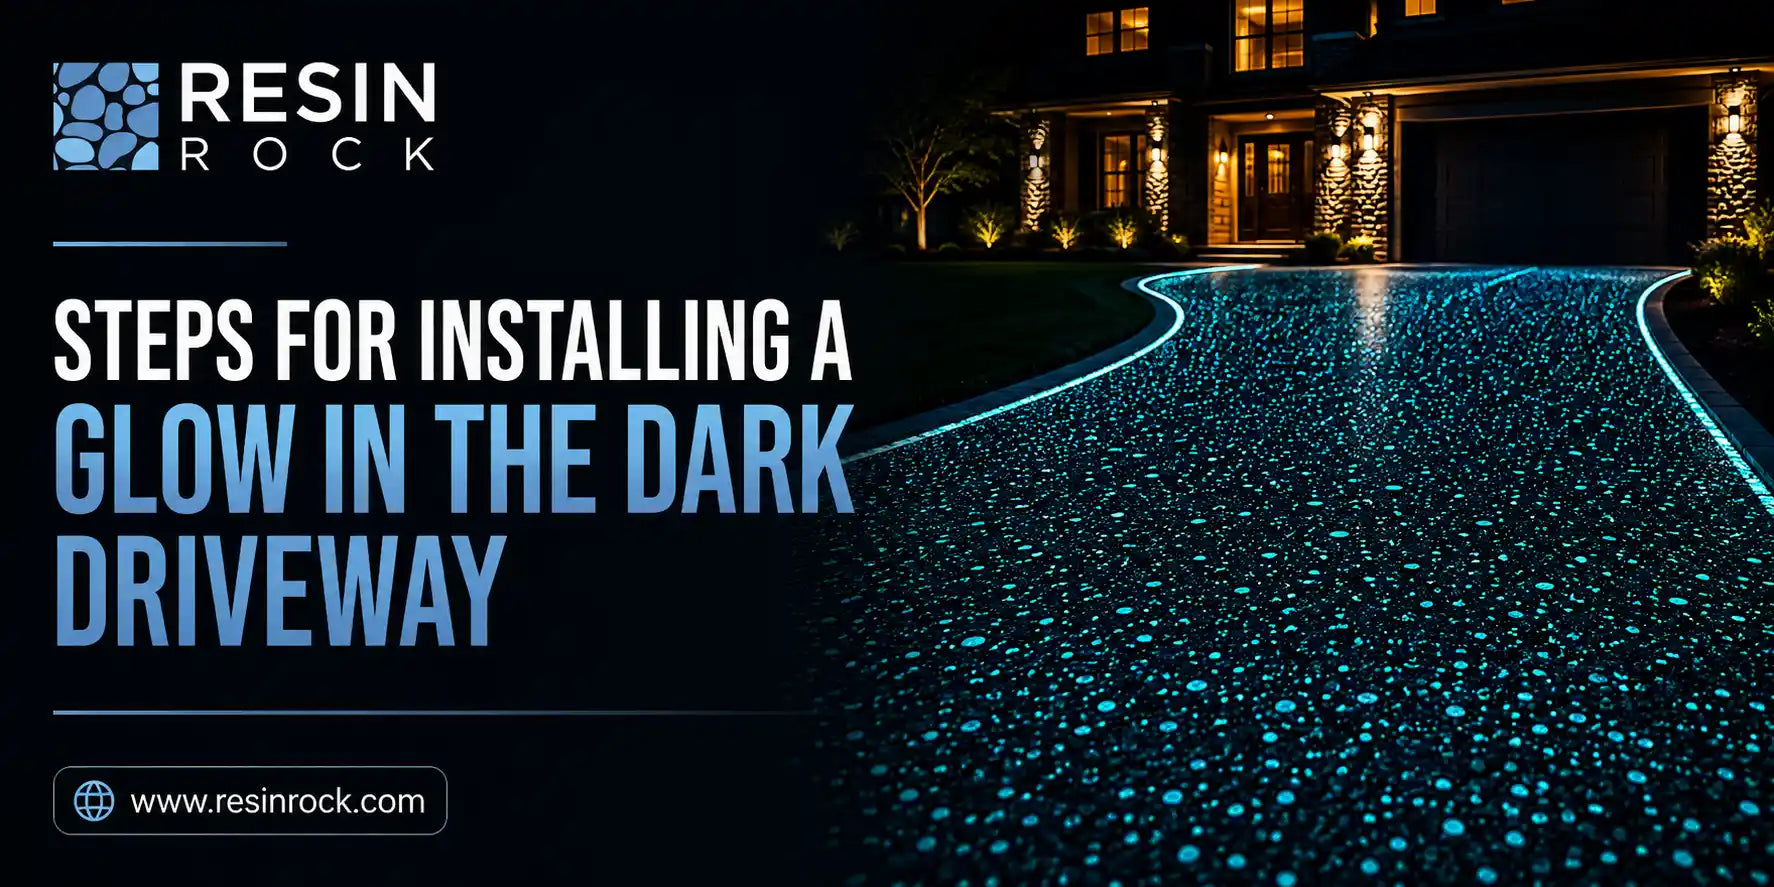
A glow driveway is not painted or coated with a temporary product. The glow effect comes from photoluminescent aggregate, often called glow stone or glowing stone, that is mixed directly into the resin bound surface layer. These particles absorb sunlight and ambient light throughout the day and slowly release that stored light once it gets dark. The effect can last several hours depending on the quality of the glow gravel used and how much daylight exposure the surface receives.
Unlike glow in the dark paint or sealant, glow stones for concrete and resin applications are permanent because they are embedded within the material itself rather than sitting on top as a coating that wears away.
Materials You Will Need
Before starting, gather the following:
A stable, well compacted sub base, usually crushed stone or an existing concrete or asphalt surface in good condition Resin bound materials, meaning a two part UV stable resin binder plus your chosen aggregate Glow rocks or glow gravel, sized to match your aggregate for a consistent blend Mixing equipment, including a forced action mixer for larger areas Trowels, screed rails, and a compactor or roller for finishing Edge restraints to contain the mix during laying
Sourcing quality resin bound products matters here more than almost anything else in the process. A resin bound material supplier that offers UV stable binder and true photoluminescent aggregate, rather than a cheap glow powder additive, will determine how bright and how long lasting the finished surface actually glows.
Step One: Prepare the Sub Base
The sub base needs to be firm, well drained, and free of organic material. For new installations, this typically means excavating to the correct depth, laying a compacted stone base, and grading it for proper water runoff. If you are resurfacing an existing concrete or asphalt driveway, the surface must be structurally sound, clean, and free of oil stains or loose material, since resin bound surfacing materials are applied directly on top of a solid base rather than replacing it.
Step Two: Plan the Glow Pattern
Decide how you want the glow effect to appear. Some homeowners choose a full Glow gravel surface for maximum brightness across the entire driveway. Others prefer a blended look, mixing a smaller ratio of glowing rocks into a standard aggregate so the glow shows up as scattered points of light rather than a solid glowing sheet. Border accents, edging strips, or a winding path pattern within a larger driveway are also popular choices. Mapping this out before mixing begins will save time and material.
Step Three: Mix the Resin and Aggregate
Combine the UV stable resin binder with your chosen aggregate blend in a forced action mixer, following the manufacturer's mixing ratio. If you are using a full glow gravel mix, add the glow stone directly as your primary aggregate. If you are blending, add the glow rocks gradually while mixing to achieve even distribution rather than clusters. Mix only as much material as you can lay within the working time of the resin, since resin bound solutions typically begin curing within a limited window once combined.
Step Four: Lay and Screed the Material
Pour the mixed material onto the prepared base and spread it using a trowel or screed rail, working toward a consistent depth, usually between 15 and 18 millimeters for driveways. Compact the surface using a roller or hand tamper to remove air pockets and ensure the aggregate bonds fully with the resin. Work in manageable sections, especially on larger driveways, so the edges of each section blend smoothly with the next.
Step Five: Cure and Protect the Surface
Curing time depends on temperature and humidity, but most resin bound surfaces are safe for foot traffic within 24 hours and vehicle traffic within 48 to 72 hours. Keep the surface dry and free of debris during this period. Avoid covering the driveway with tarps or objects that block sunlight exposure, since the glow stones need light absorption during the curing period to begin charging properly.
Common Mistakes to Avoid
Using low grade glow additive powder instead of true photoluminescent aggregate, which fades quickly and produces a dull result Skipping proper sub base preparation, which leads to cracking and uneven settling over time Applying the resin in humid or rainy conditions, which affects curing and bonding Overloading the mix with too much glow aggregate, which can weaken the structural integrity of the surface Choosing a supplier without proven UV stable resin, since sun exposure over years will yellow or degrade lower quality binders
Working With the Right Supplier
The quality of a glow driveway depends heavily on where the materials come from. Working with an established resin bound material supplier that manufactures its own UV stable binder and true glow stone aggregate, rather than reselling generic imported blends, tends to produce a more consistent and longer lasting glow effect. Resin Rock has built its reputation on exactly this kind of quality control, offering resin bound surfacing materials that hold their color and brightness season after season.
If you want to see how photoluminescent aggregate performs in outdoor installations before starting your own project, this overview of glow rock illuminating outdoor spaces is a useful next read for understanding real world results.
Installing a glow-in-the-dark driveway is a manageable project for an experienced installer, but it depends entirely on using proper resin bound products, a well prepared base, and genuine glow stone aggregate rather than shortcuts. Done correctly, the result is a driveway that looks completely ordinary in daylight and transforms into a soft glowing path once the sun goes down, without a single wire or light fixture involved.
Reach out to a trusted resin bound materials supplier to get sample colors, request a project quote, and confirm the right glow rock ratio for your specific driveway size and style.